Summary: in this tutorial, you will learn how to use the Flutter Row widget to arrange child widgets in a horizontal array.
Introduction to the Flutter Row widget
The Row is a layout widget that displays its child widgets in a horizontal array. The Row widget has two hidden axes: main and cross:
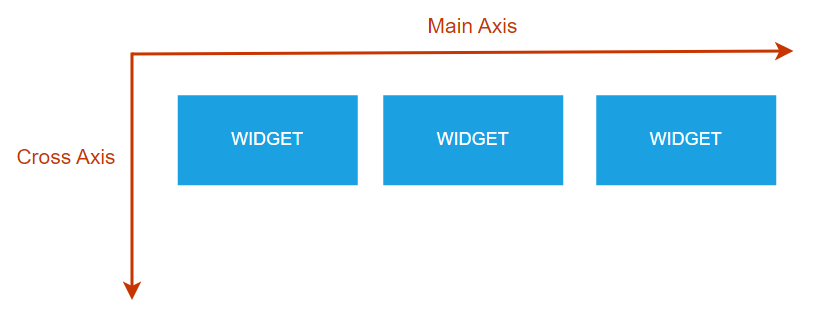
The main axis is from left to right while the cross axis is from top to bottom.
Note that if you want to place widgets in a vertical array, you can use the Column widget instead.
The following example illustrates how to use the Row widget:
import 'package:flutter/material.dart';
void main() {
runApp(const MyApp());
}
class MyApp extends StatelessWidget {
const MyApp({Key? key}) : super(key: key);
@override
Widget build(BuildContext context) {
return MaterialApp(
debugShowCheckedModeBanner: false,
home: Scaffold(
body: SafeArea(
child: Row(
children: [
Container(
color: Colors.redAccent,
height: 50,
width: 50,
),
Container(
color: Colors.greenAccent,
height: 50,
width: 50,
),
Container(
color: Colors.blueAccent,
height: 50,
width: 50,
),
],
),
),
),
);
}
}Code language: Dart (dart)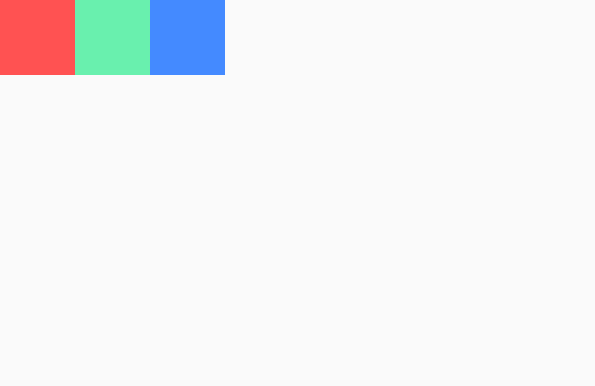
In this example, the Row widget has three children which are three Container widgets with the same width and height.
Setting the size of the main axis
By default, the Row widget takes all horizontal space. The following shows the above example with the Debug Paint turned on:
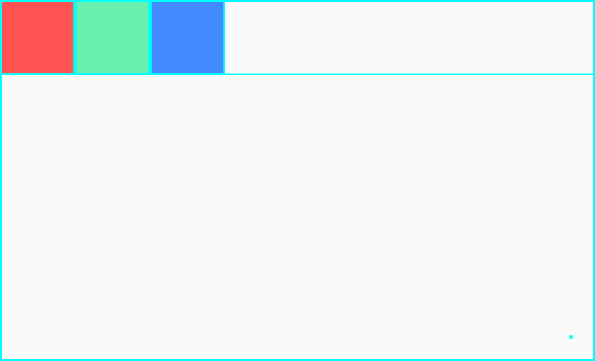
If you want to set the size of the main axis that fits the size of all the children, you can use the mainAxisSize property.
The mainAxisSize property accepts min and max values of the MainAxisSize enum. It defaults to max.
The following example sets the size of the main axis to min:
import 'package:flutter/material.dart';

void main() {
  runApp(const MyApp());
}

class MyApp extends StatelessWidget {
  const MyApp({Key? key}) : super(key: key);

  @override
  Widget build(BuildContext context) {
    return MaterialApp(
      debugShowCheckedModeBanner: false,
      home: Scaffold(
        body: SafeArea(
          child: Row(
            mainAxisSize: MainAxisSize.min,
            children: [
              Container(
                color: Colors.redAccent,
                height: 50,
                width: 50,
              ),
              Container(
                color: Colors.greenAccent,
                height: 50,
                width: 50,
              ),
              Container(
                color: Colors.blueAccent,
                height: 50,
                width: 50,
              ),
            ],
          ),
        ),
      ),
    );
  }
}Code language: Dart (dart)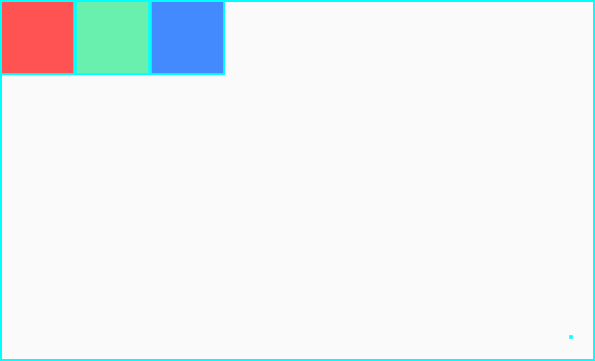
Align children on the main axis
To align the child widgets on the main axis, you use the mainAxisAlignmentRow widget. The mainAxisAlignmentMainAxisAlignment enum:
startendcenterspaceAroundspaceBetweenspaceEvenly
The mainAxisAlignment is set to start by default.
end
The following example shows how to align the child widgets to the end of the main axis:
import 'package:flutter/material.dart';

void main() {
  runApp(const MyApp());
}

class MyApp extends StatelessWidget {
  const MyApp({Key? key}) : super(key: key);

  @override
  Widget build(BuildContext context) {
    return MaterialApp(
      debugShowCheckedModeBanner: false,
      home: Scaffold(
        body: SafeArea(
          child: Row(
            mainAxisAlignment: MainAxisAlignment.end,
            children: [
              Container(
                color: Colors.redAccent,
                height: 50,
                width: 50,
              ),
              Container(
                color: Colors.greenAccent,
                height: 50,
                width: 50,
              ),
              Container(
                color: Colors.blueAccent,
                height: 50,
                width: 50,
              ),
            ],
          ),
        ),
      ),
    );
  }
}Code language: Dart (dart)
center
If you change the mainAxisAlignment to center, the Row widget will place the children at the center of the main axis:
mainAxisAlignment: MainAxisAlignment.centerCode language: Dart (dart)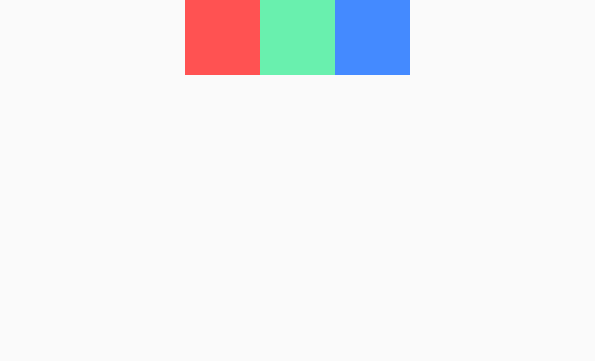
spaceBetween
The spaceBetween option allocates the space between the children evenly:
mainAxisAlignment: MainAxisAlignment.spaceBetweenCode language: Dart (dart)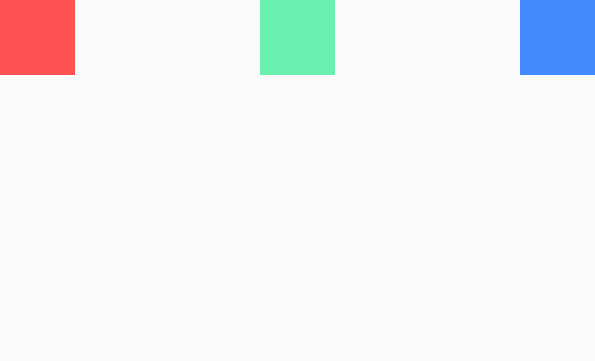
spaceEvenly
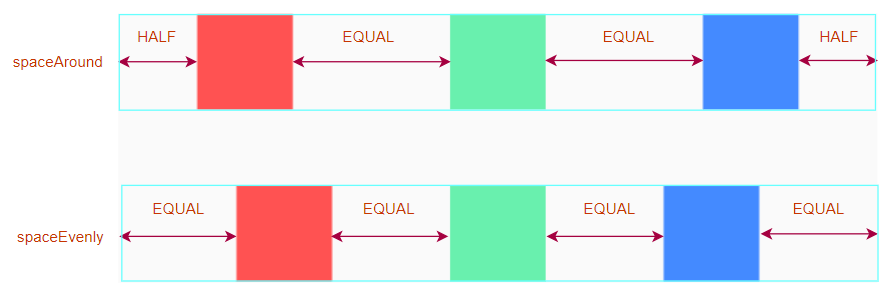
The spaceEvenly option allocates the space between the children and before the first child and after the last child evenly:
mainAxisAlignment: MainAxisAlignment.spaceEvenlyCode language: Dart (dart)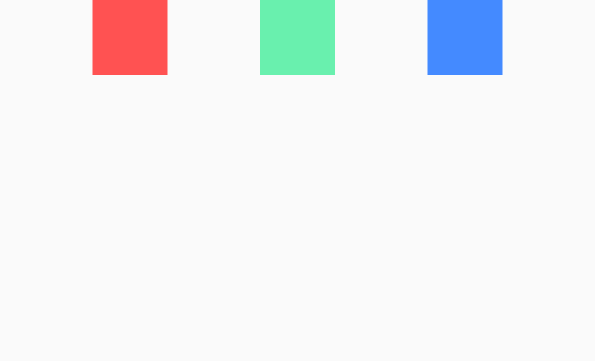
spaceAround
The spaceAround allocates the space between children evenly and also allocates the space before the first child and after the last child evenly.
The space before the first child and after the last child is half of the space between children:
MainAxisAlignment.spaceAroundCode language: Dart (dart)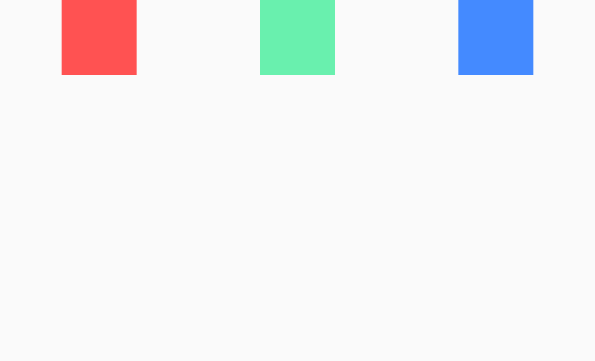
spaceAround vs. spaceEvenly
Here’s the difference between spaceAround and spaceEvenly:
Align children on the cross axis
To align children on the cross-axis, you use the crossAxisAlignmentcrossAxisAlignmentCrossAxisAlignment enum:
startendcenterstretchbaseline
The crossAxisAlignment defaults to center.
start
The following example illustrates how to align the children on the cross axis using the start option:
import 'package:flutter/material.dart';

void main() {
  runApp(const MyApp());
}

class MyApp extends StatelessWidget {
  const MyApp({Key? key}) : super(key: key);

  @override
  Widget build(BuildContext context) {
    return MaterialApp(
      debugShowCheckedModeBanner: false,
      home: Scaffold(
        body: SafeArea(
          child: Row(
            crossAxisAlignment: CrossAxisAlignment.start,
            children: [
              Container(
                color: Colors.redAccent,
                height: 50,
                width: 50,
              ),
              Container(
                color: Colors.greenAccent,
                height: 75,
                width: 50,
              ),
              Container(
                color: Colors.blueAccent,
                height: 100,
                width: 50,
              ),
            ],
          ),
        ),
      ),
    );
  }
}Code language: Dart (dart)
end
The crossAxisAlignment end arranges children at the end of the cross axis:
crossAxisAlignment: CrossAxisAlignment.endCode language: Dart (dart)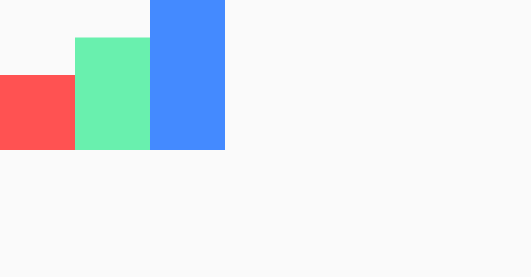
center
The crossAxisAlignment center arranges the children at the center of the cross axis:
crossAxisAlignment: CrossAxisAlignment.centerCode language: Dart (dart)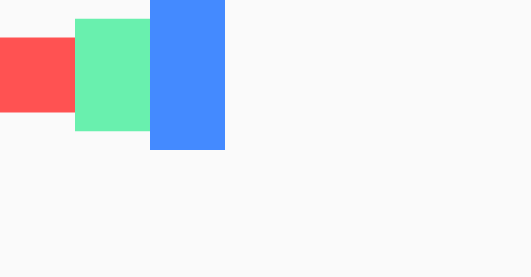
stretch
The stretch option forces the children to fill the cross axis:
crossAxisAlignment: CrossAxisAlignment.stretchCode language: Dart (dart)
baseline
The baseline aligns children based on the baseline of the text.
When you use the baseline option, you also need to specify the textBaseline property. Otherwise, the app will crash.
The textBaseline property defines the horizontal line for aligning text. It accepts one of two values of the TextBaseLine enum:
alphabetic– align the bottom of glyphs for alphabetic characters.ideographic– align ideographic characters.
The following example shows the app before using the baseline alignment:
import 'package:flutter/material.dart';

void main() {
  runApp(const MyApp());
}

class MyApp extends StatelessWidget {
  const MyApp({Key? key}) : super(key: key);

  @override
  Widget build(BuildContext context) {
    return MaterialApp(
      debugShowCheckedModeBanner: false,
      home: Scaffold(
        body: SafeArea(
          child: Row(
            children: [
              Container(
                color: Colors.redAccent,
                height: 50,
                width: 50,
                child: const Text(
                  'Dart',
                  style: TextStyle(fontSize: 20),
                ),
              ),
              Container(
                color: Colors.greenAccent,
                height: 75,
                width: 50,
                child: const Text('is'),
              ),
              Container(
                color: Colors.blueAccent,
                height: 100,
                width: 50,
                child: const Text(
                  'cool',
                  style: TextStyle(fontSize: 25),
                ),
              ),
            ],
          ),
        ),
      ),
    );
  }
}Code language: Dart (dart)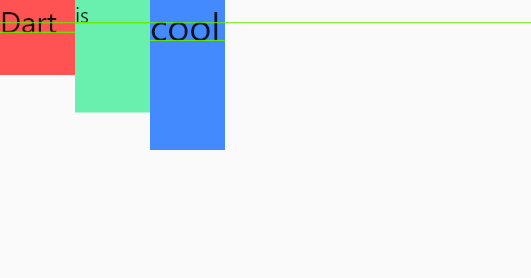
And the following shows how to use the crossAxisAlignment baseline to align alphabetic characters:
import 'package:flutter/material.dart';

void main() {
  runApp(const MyApp());
}

class MyApp extends StatelessWidget {
  const MyApp({Key? key}) : super(key: key);

  @override
  Widget build(BuildContext context) {
    return MaterialApp(
      debugShowCheckedModeBanner: false,
      home: Scaffold(
        body: SafeArea(
          child: Row(
            crossAxisAlignment: CrossAxisAlignment.baseline,
            textBaseline: TextBaseline.alphabetic,
            children: [
              Container(
                color: Colors.redAccent,
                height: 50,
                width: 50,
                child: const Text(
                  'Dart',
                  style: TextStyle(fontSize: 20),
                ),
              ),
              Container(
                color: Colors.greenAccent,
                height: 75,
                width: 50,
                child: const Text('is'),
              ),
              Container(
                color: Colors.blueAccent,
                height: 100,
                width: 50,
                child: const Text(
                  'cool',
                  style: TextStyle(fontSize: 25),
                ),
              ),
            ],
          ),
        ),
      ),
    );
  }
}Code language: Dart (dart)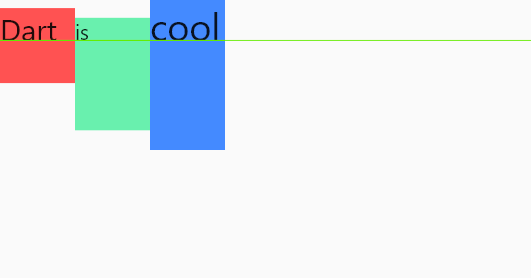
Summary
- Use the Flutter
Rowwidget to arrange children in a horizontal array. - Use the
mainAxisSizeto set the size of the main axis. - Use the
mainAxisAlignmentto align children on the main axis. ThemainAxisAlignmentdefaults tostart. - Use the
crossAxisAlignmentto align children on the cross axis. ThecrossAxisAlignmentdefaults tocenter.